MOST POPULAR
Hi! I'm Niky Foster! Lover of DIY projects, home design, and all sorts of creativity! I started my YouTube channel as a way to document my projects and now I'm here to share my tips, tricks and creative ideas with you!
welcome everyone!
BATHROOM CABINET ORGANIZATION HACK
lifestyle
KIDS BATHROOM $300 DIY MAKEOVER
diy projects
KIDS BEDROOM BOOK NOOK DIY MAKEOVER
diy projects
EXPLORE DIY VIDEOS
JOIN THE DIY FAMILY
Sign up below to receive more DIY inspiration & updates.
CATEGORIES
DIY PROJECTS
ROOM MAKEOVERS
HOME DIY
BULLET JOURNALING
ORGANIZATION
HOME DESIGN
LIFESTYLE
STYLE
DREAMBOX
TRAVEL
FASHION DIYS
FREEBIES
DREAMBOX
Ikea Hemnes Shoe Cabinet Hack
Do you like to take off your shoes before entering into the rest of your home? My family does too! Unfortunately, that results in tons of shoes creating clutter right at the entrance of my home! I actually finally had enough and decided to tackle this project to create a simplified, but organized space for my small entryway.
This is what the entryway looked like before:
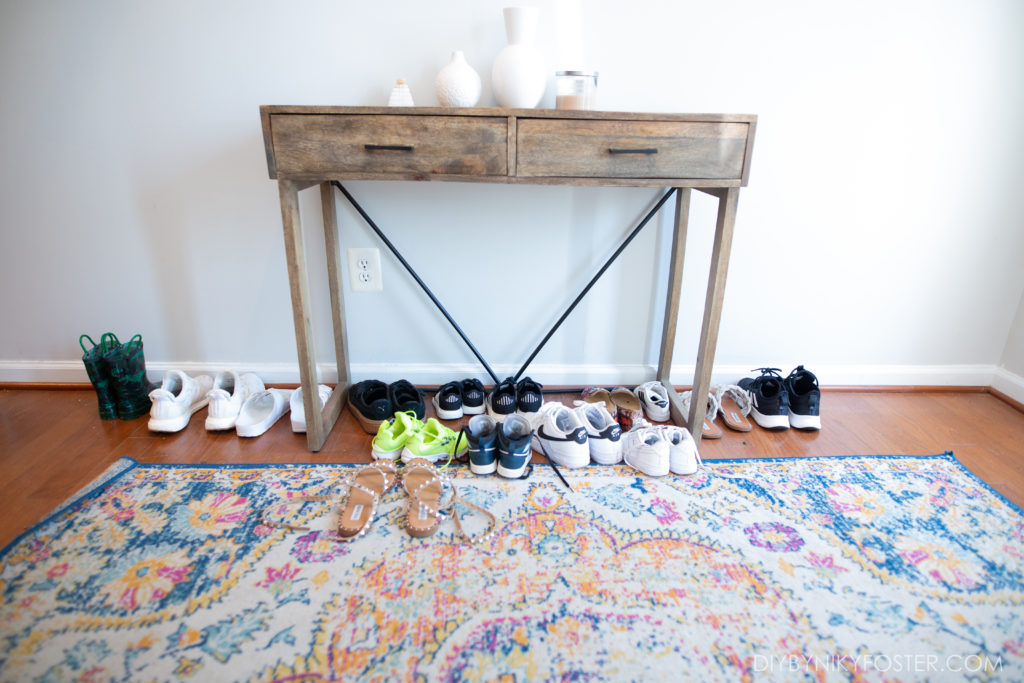
This entryway was in desperate need of a makeover. I brought this table from Home Goods thinking all I needed was a drawer or two for our keys. There is a slim coat closet also in this foyer and I thought that the bottom of it could hold all the shoes we would need at any given time. (This is actually a little cleaned up from what the shoe situation used to look like!)
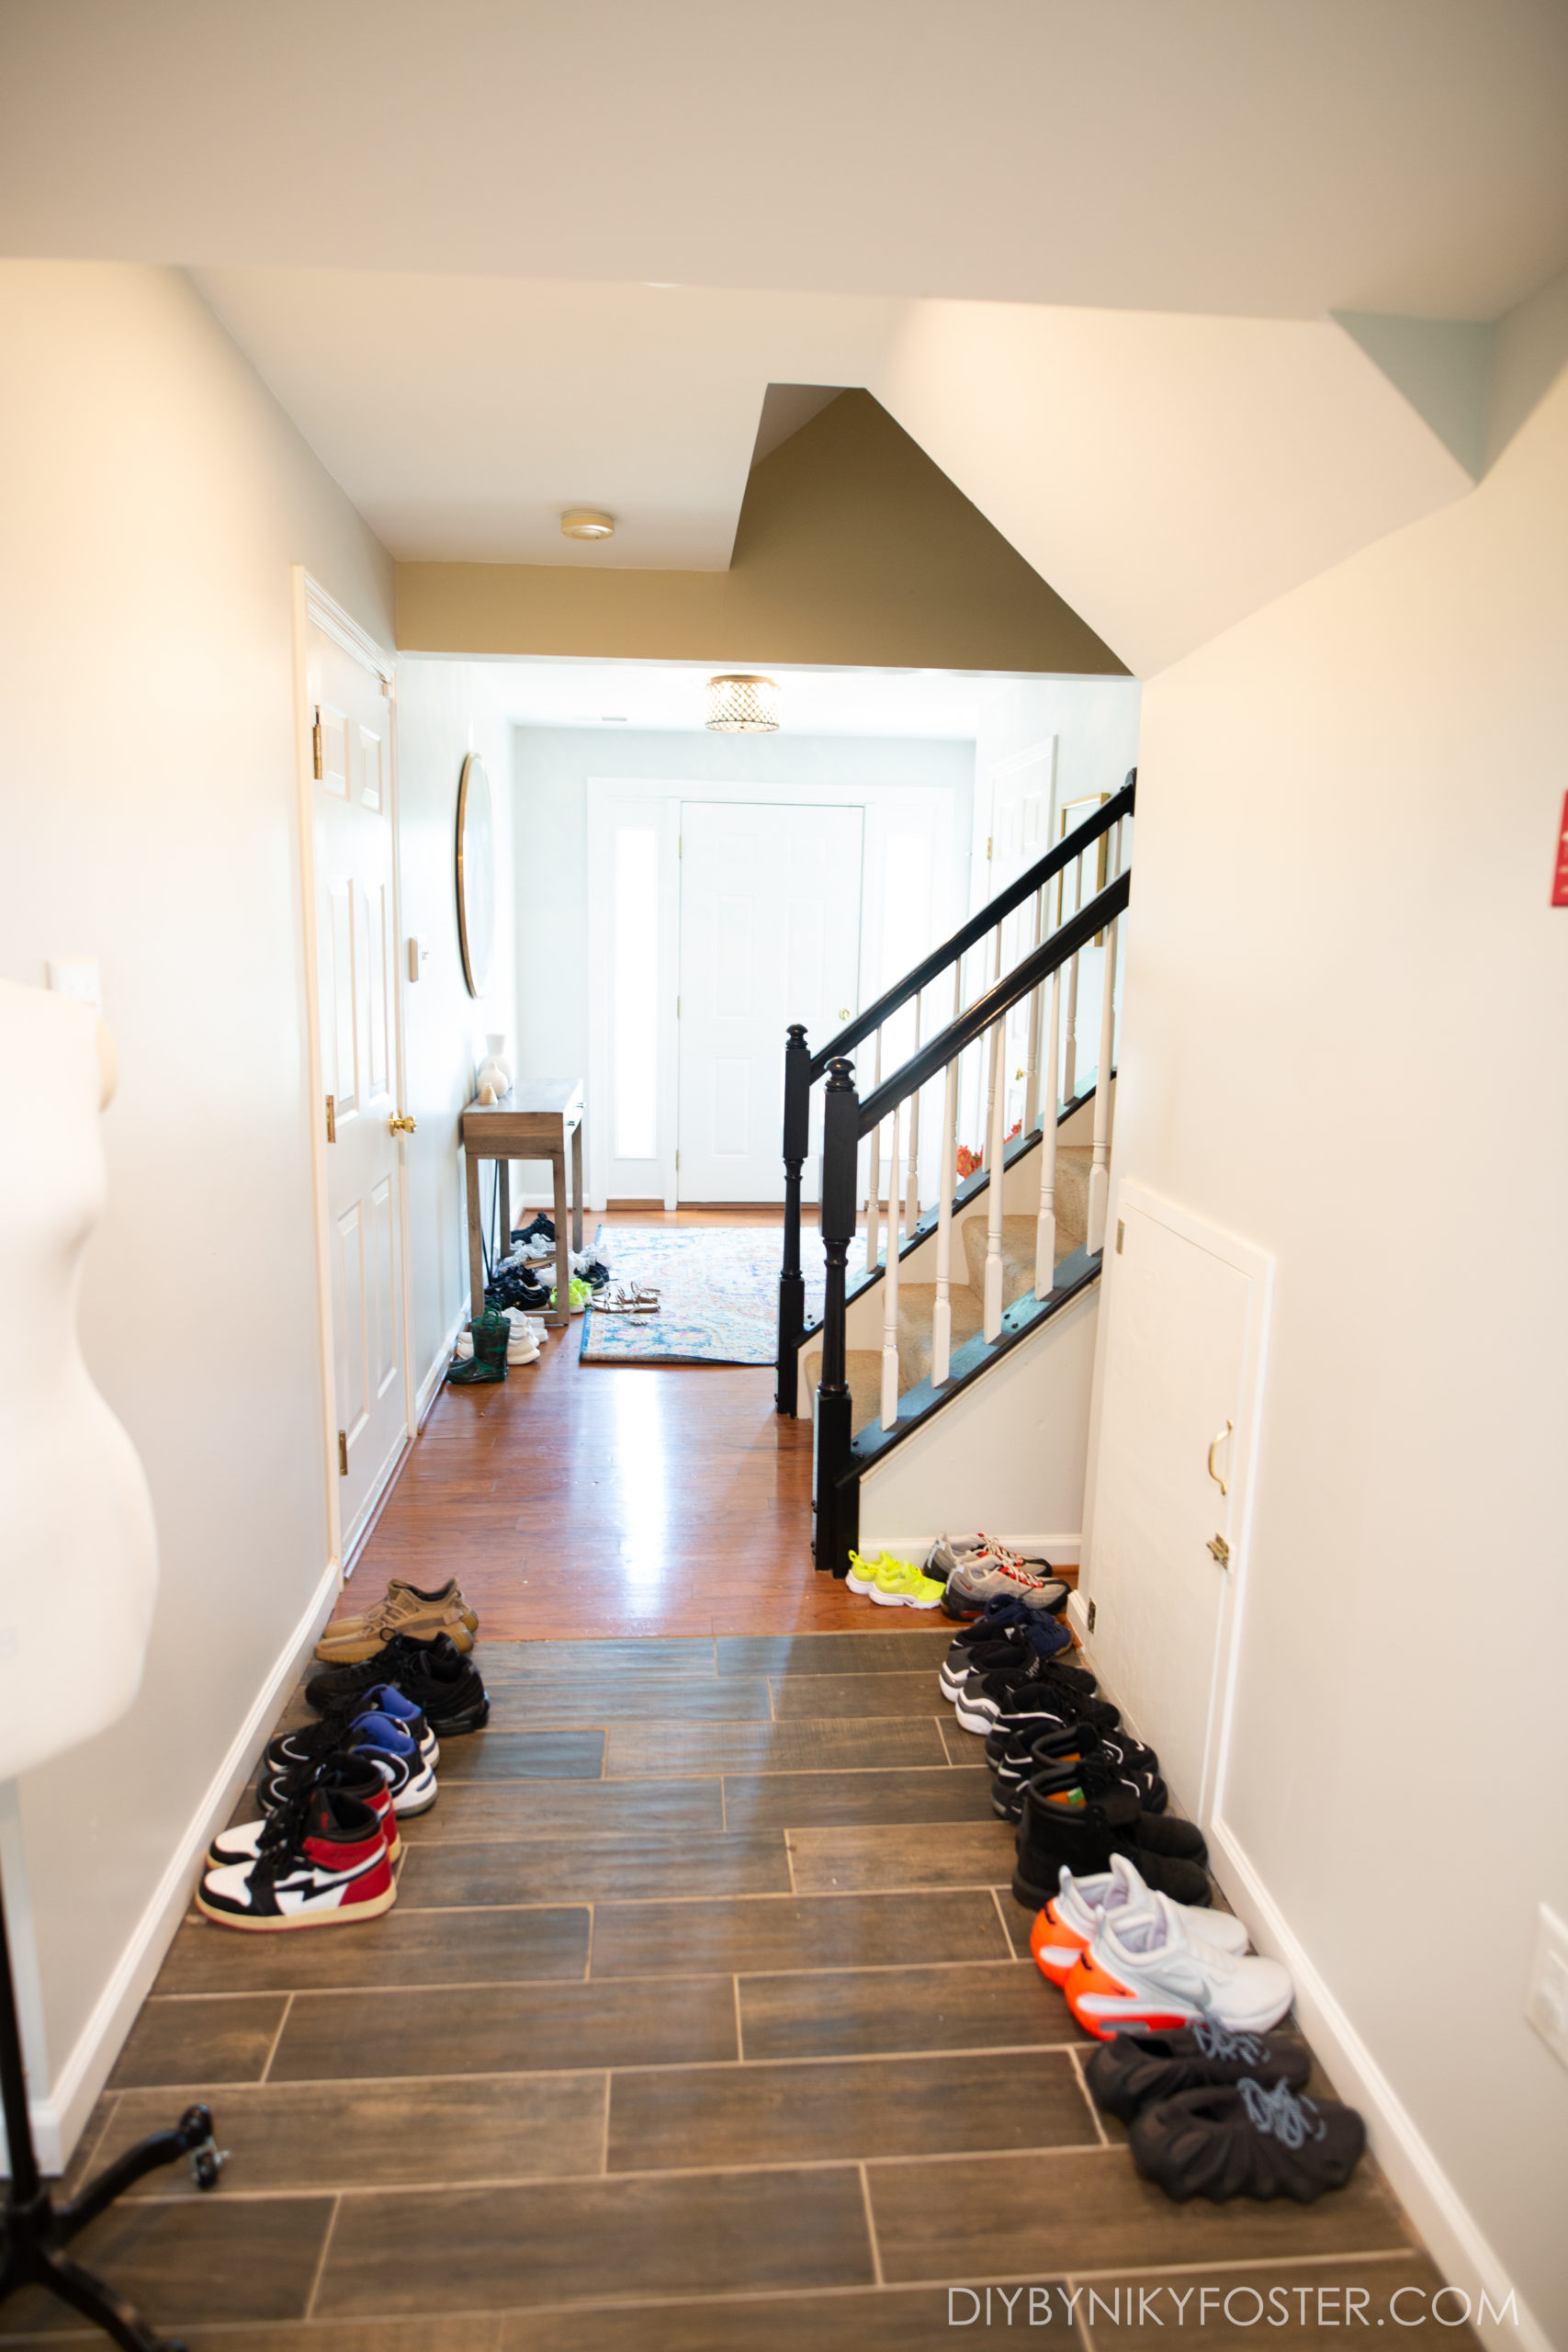
The shoe situation even spilled into our den area!
I like to give lot of details when I record YouTube videos. So I was able to break the whole process down with all the details you need for how to hack two Ikea Hemnes Shoe Cabinet to look like one piece.
If you prefer to watch the Ikea Hemnes Shoe Cabinet Hack, you can watch it here:
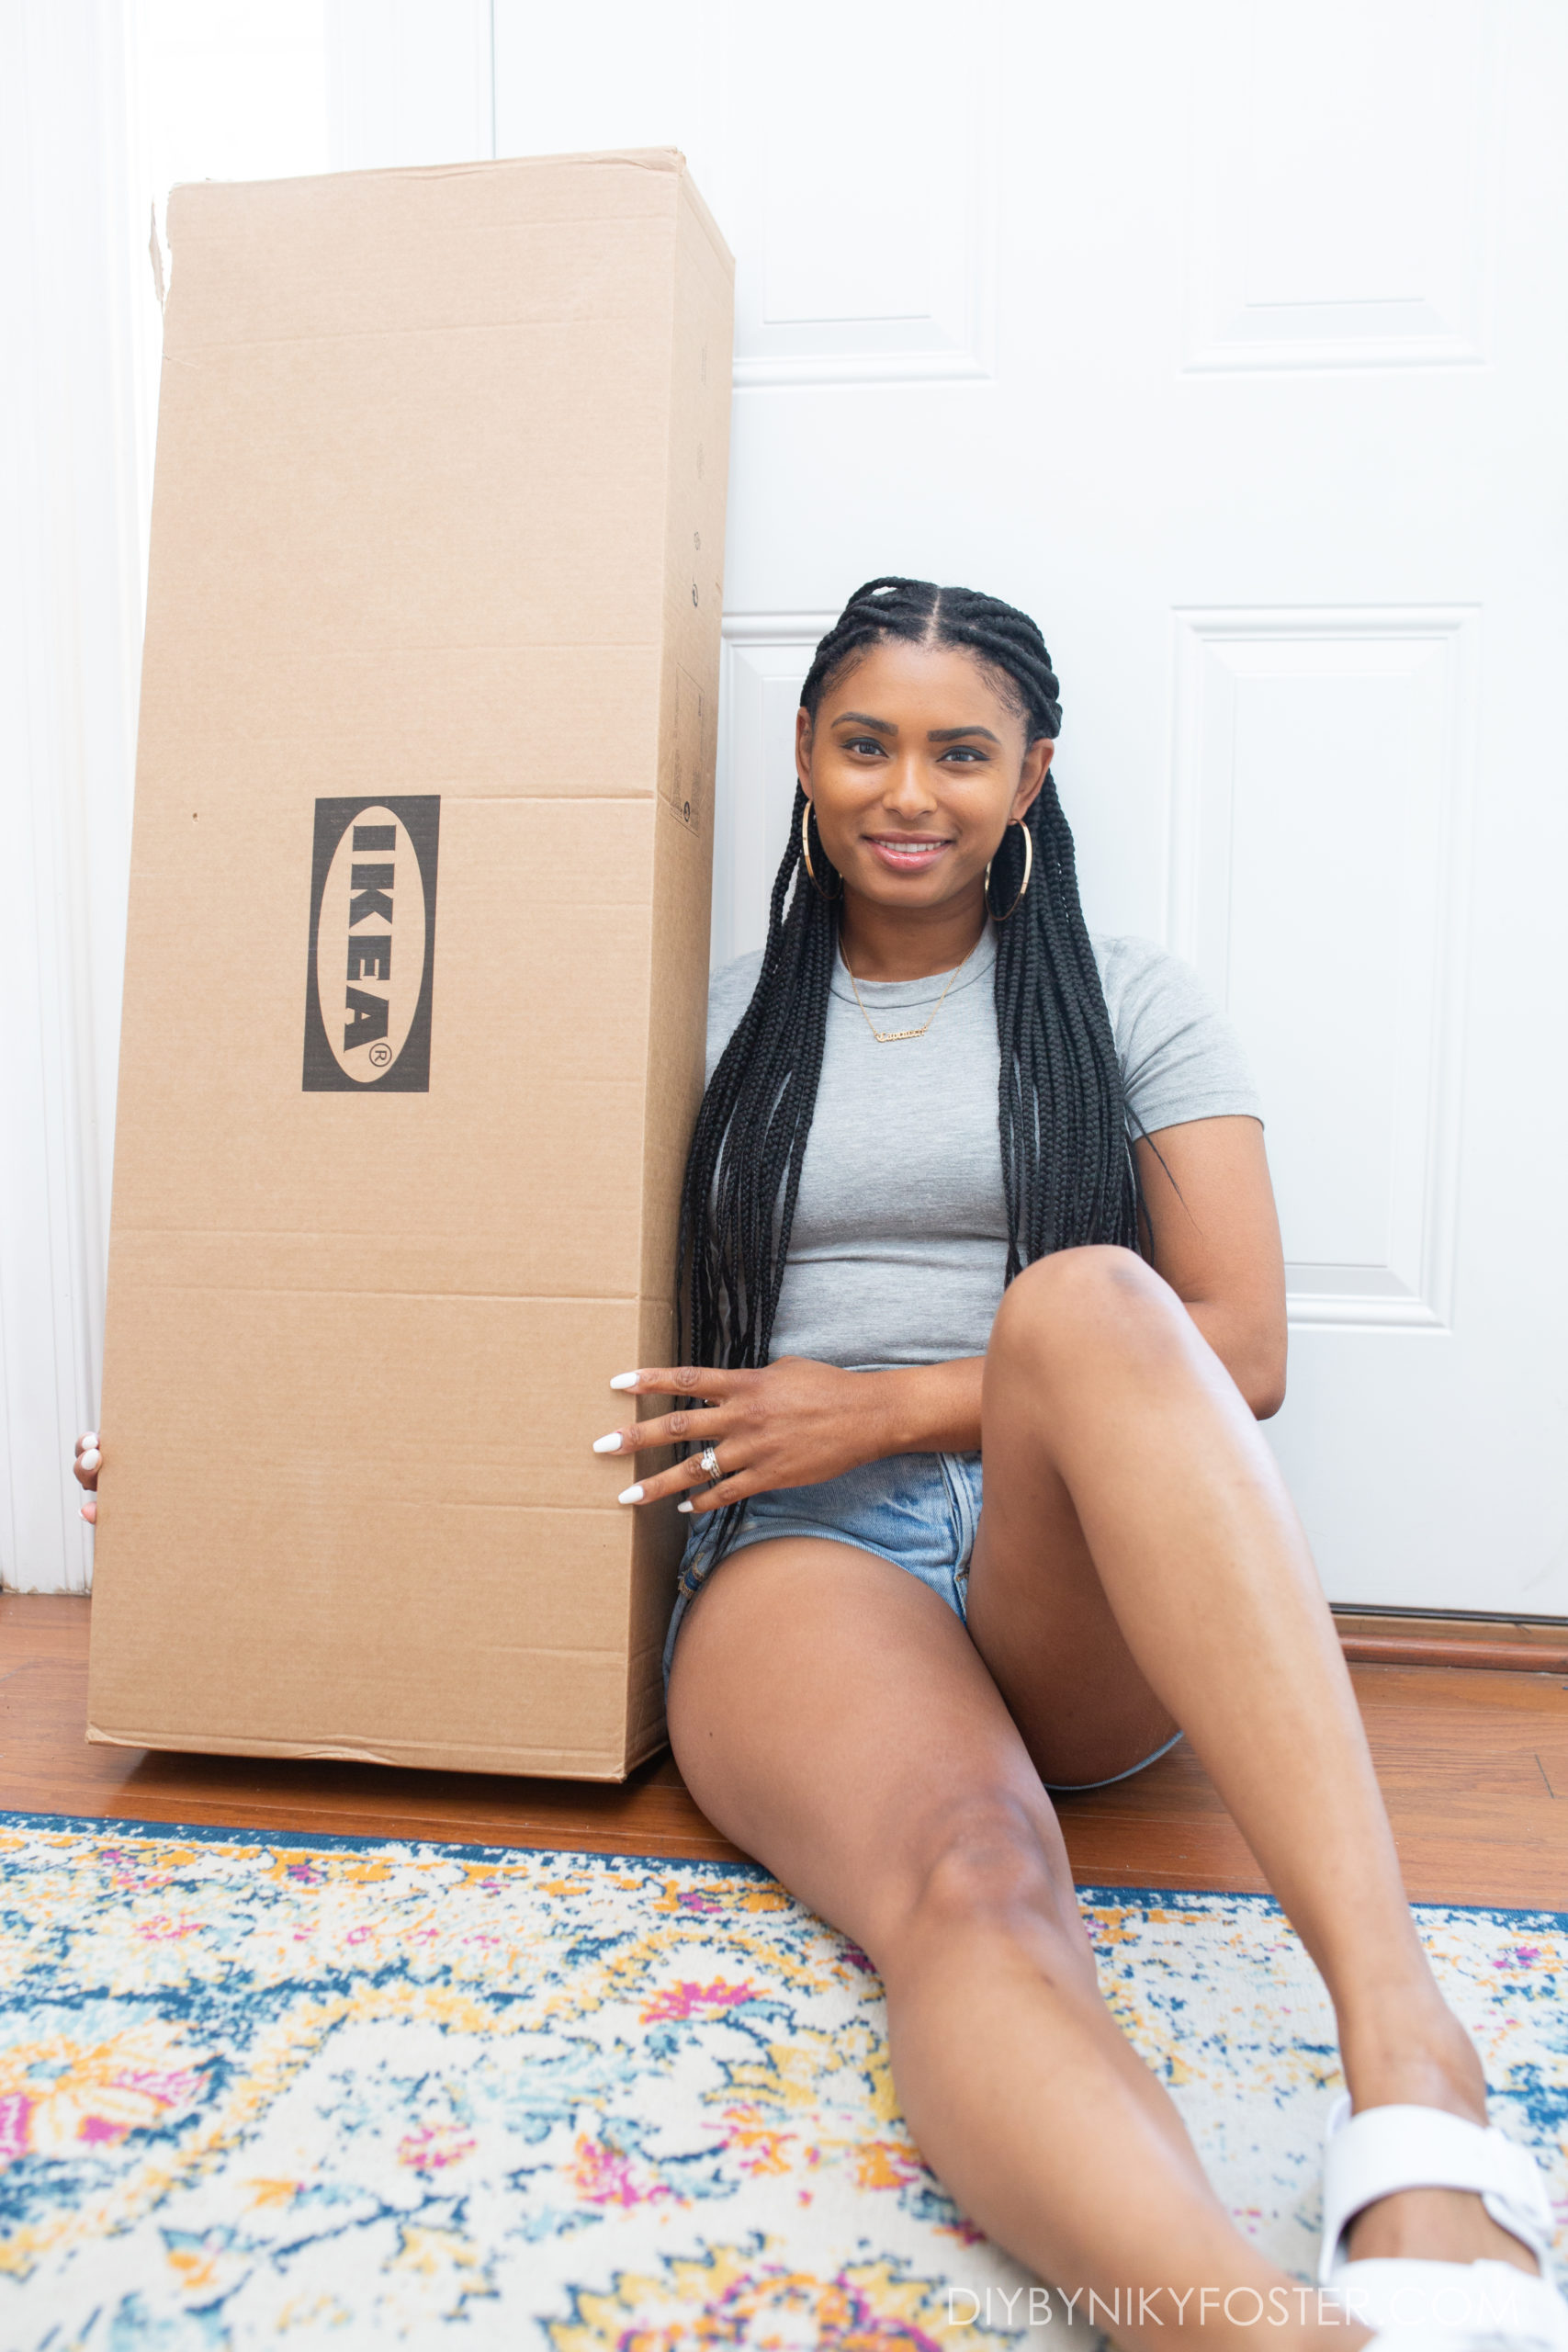
Combining Two Ikea Hemnes Shoe Cabinets
- The first step to this Ikea shoe cabinet is to build one cabinet the way the instructions say. The only thing to leave off is the top. The second one build it with the leg off, like below.
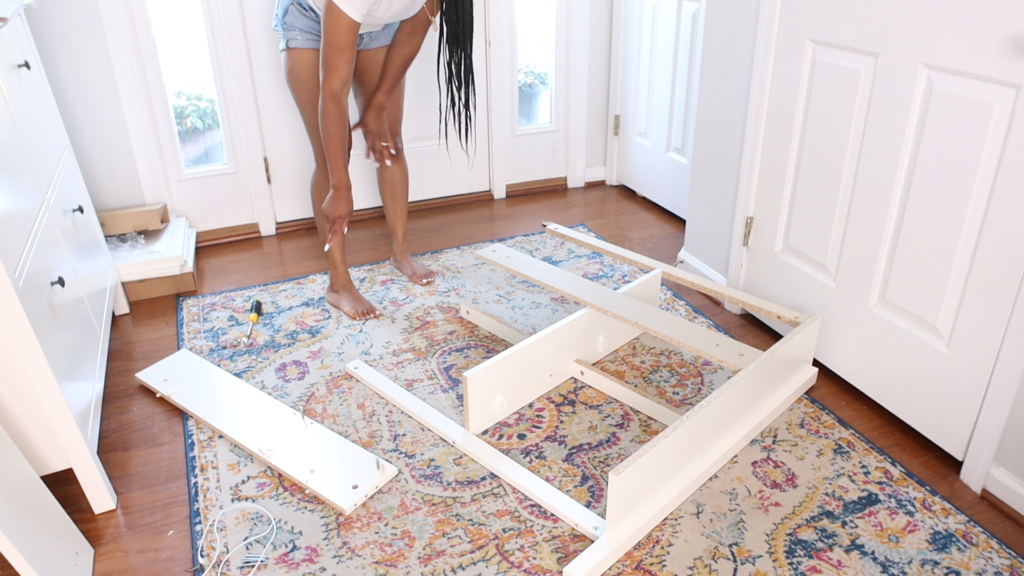
2. I used a piece of frog tape on the extra leg that was not being used. I used a tool to poke holes in the frog tape.
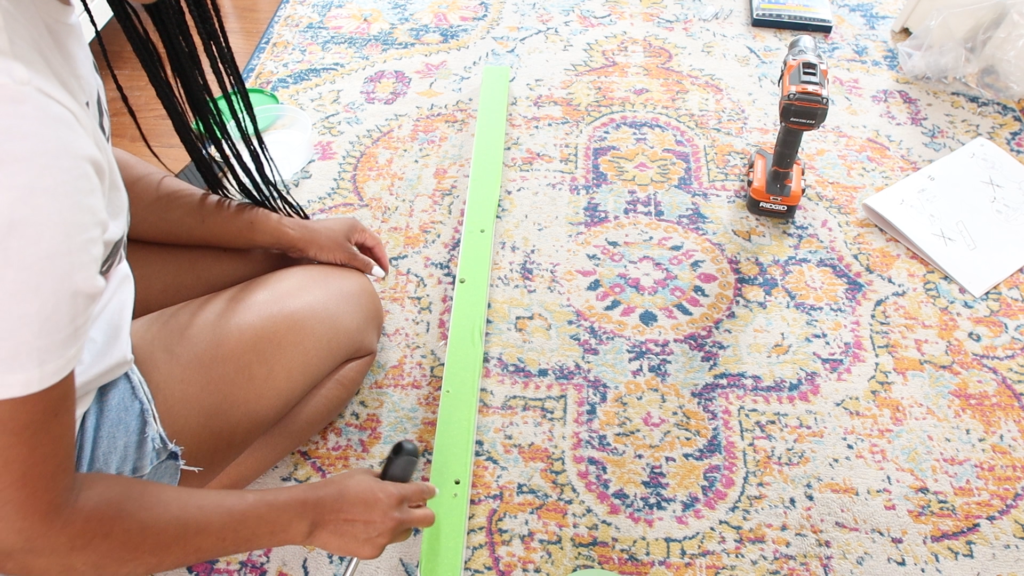
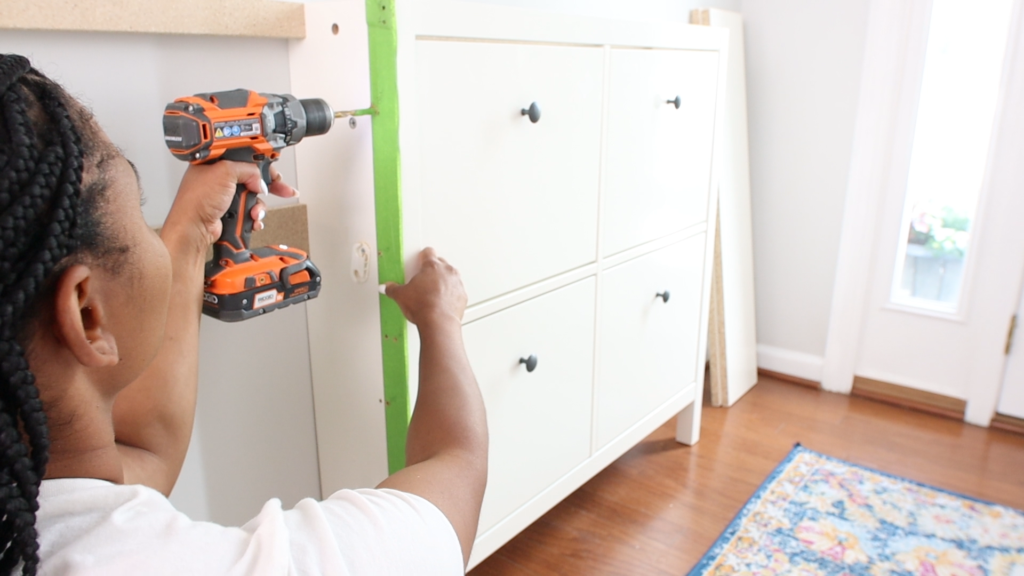
3. Remove the frog tape from the leg and stick it to the inside of the already built cabinet. Drill the holes in the spot. You will need these drill bits to make sure you don’t drill holes that are too big.
4. Next use this glue on the cabinet without the extra leg. Place it right behind the leg of the other built cabinet. They essentially will share one leg. This video shows how to do it more precisely.
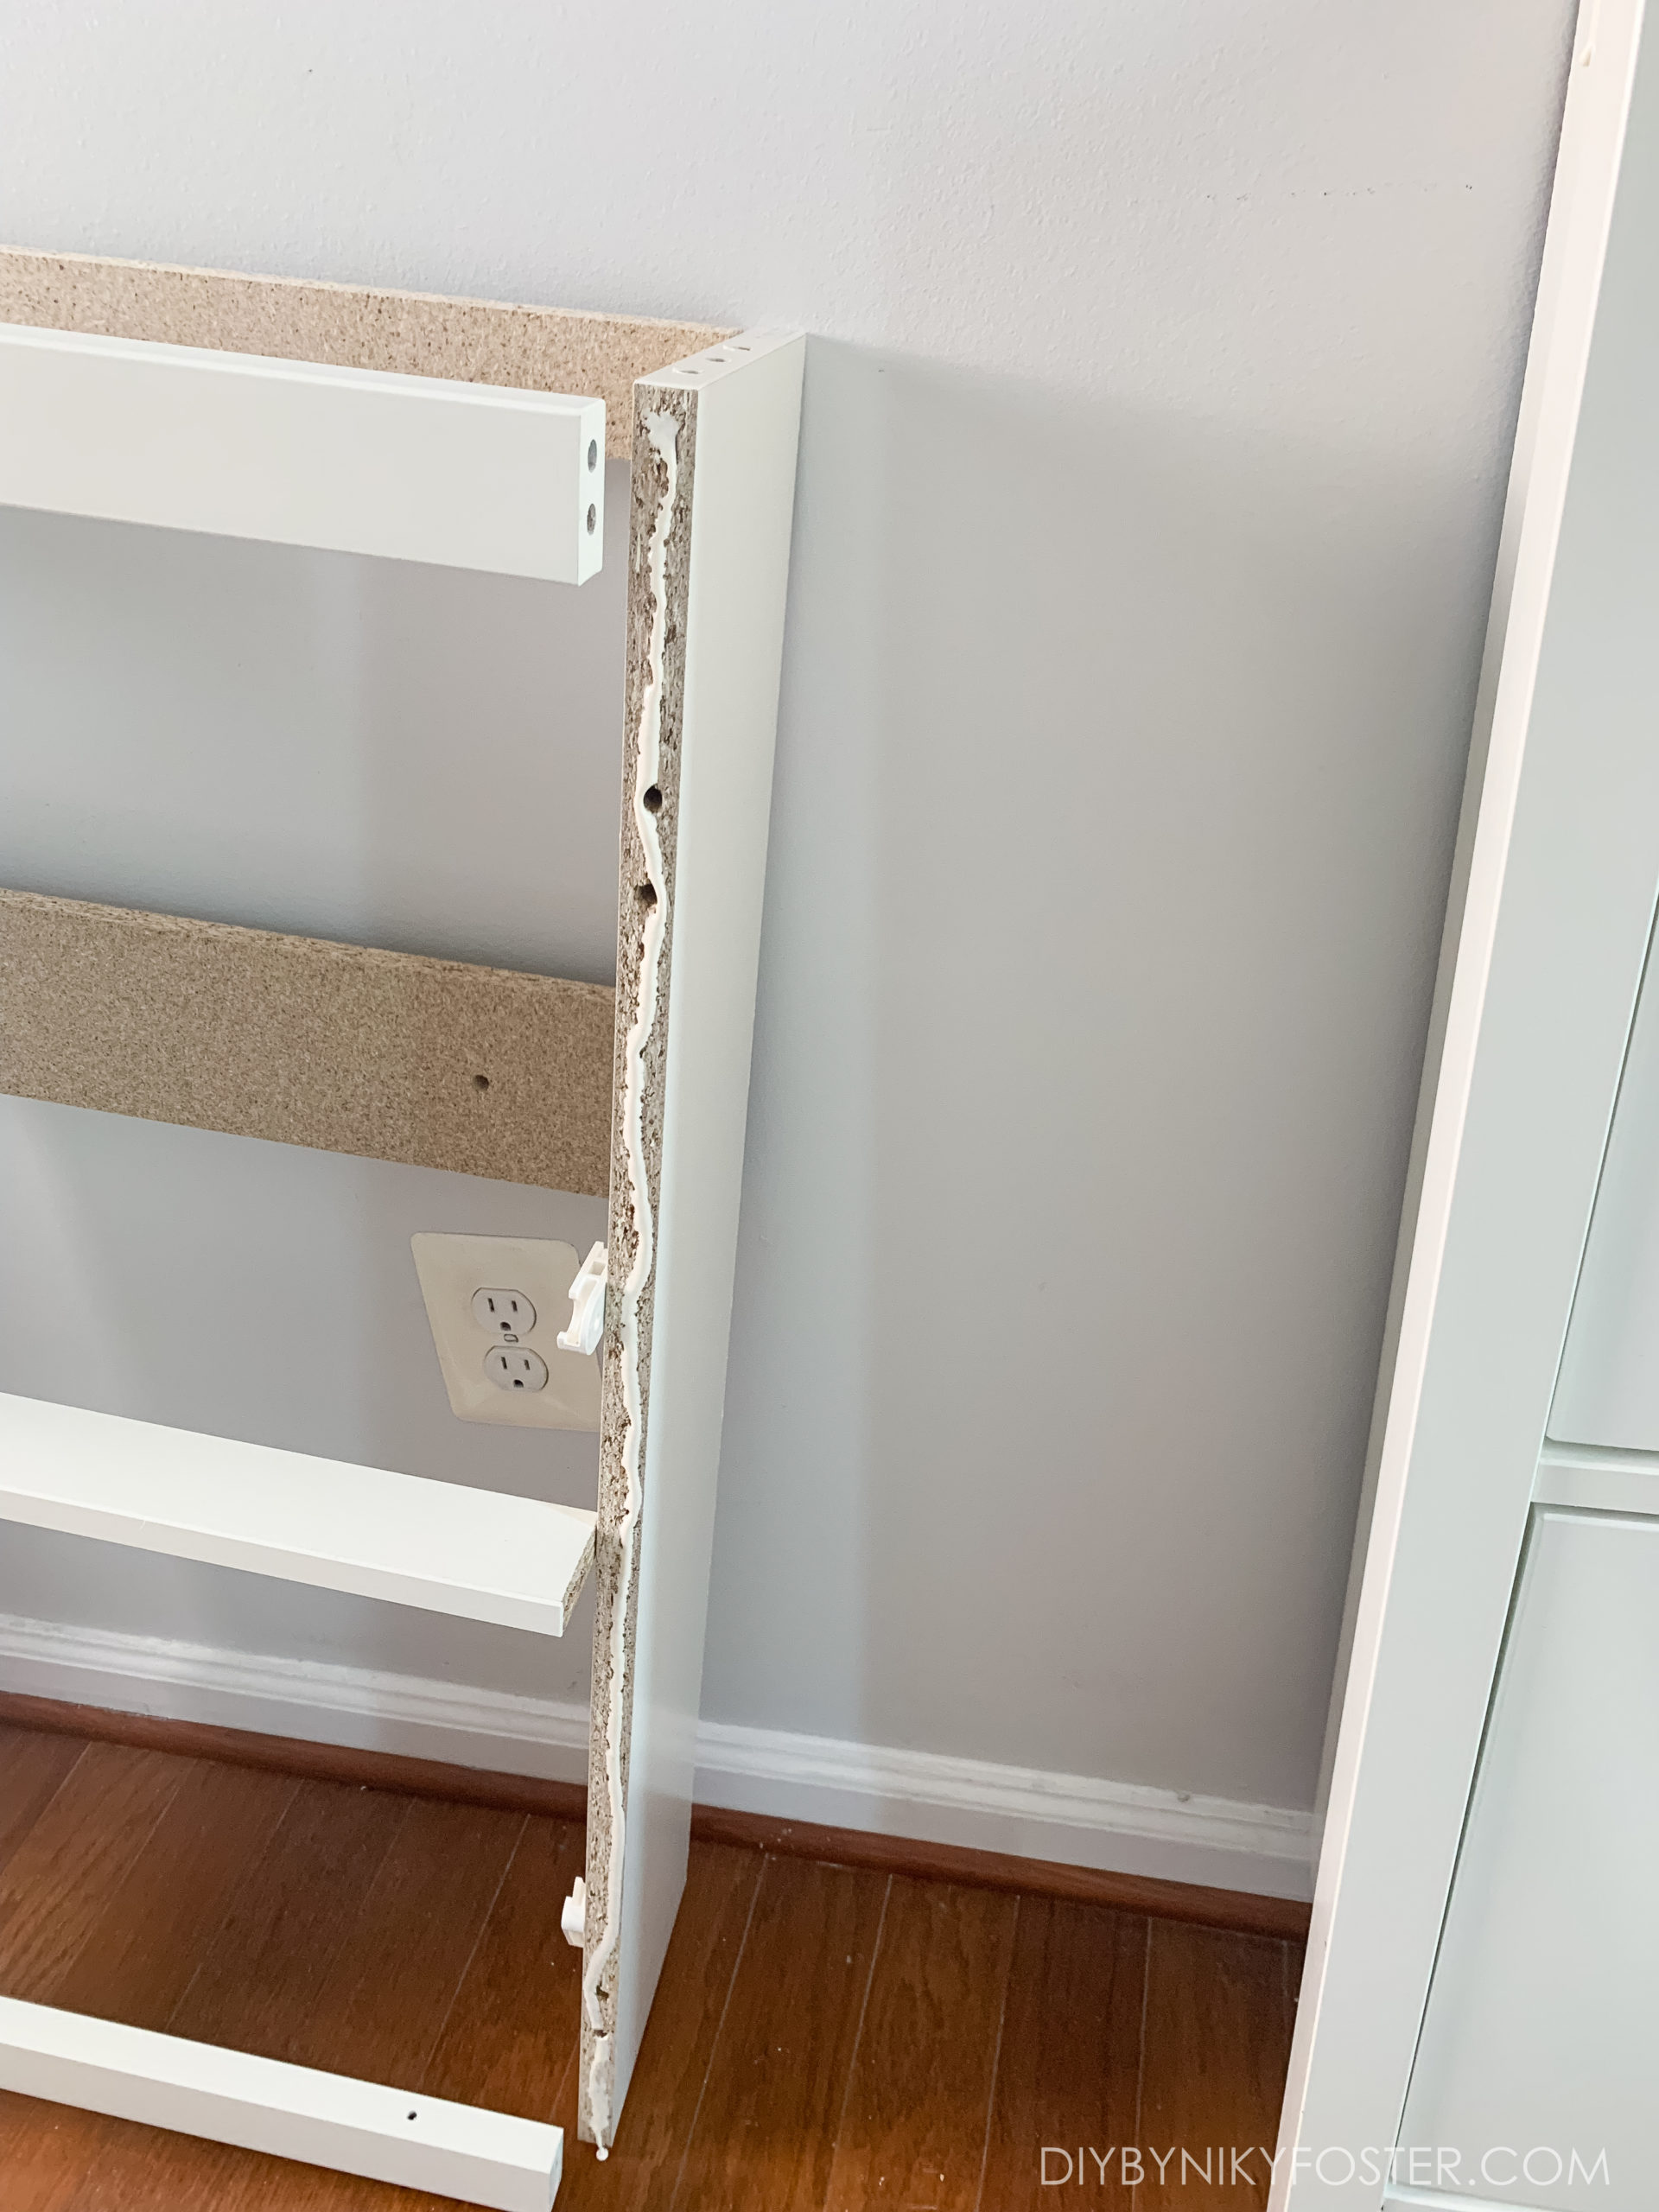
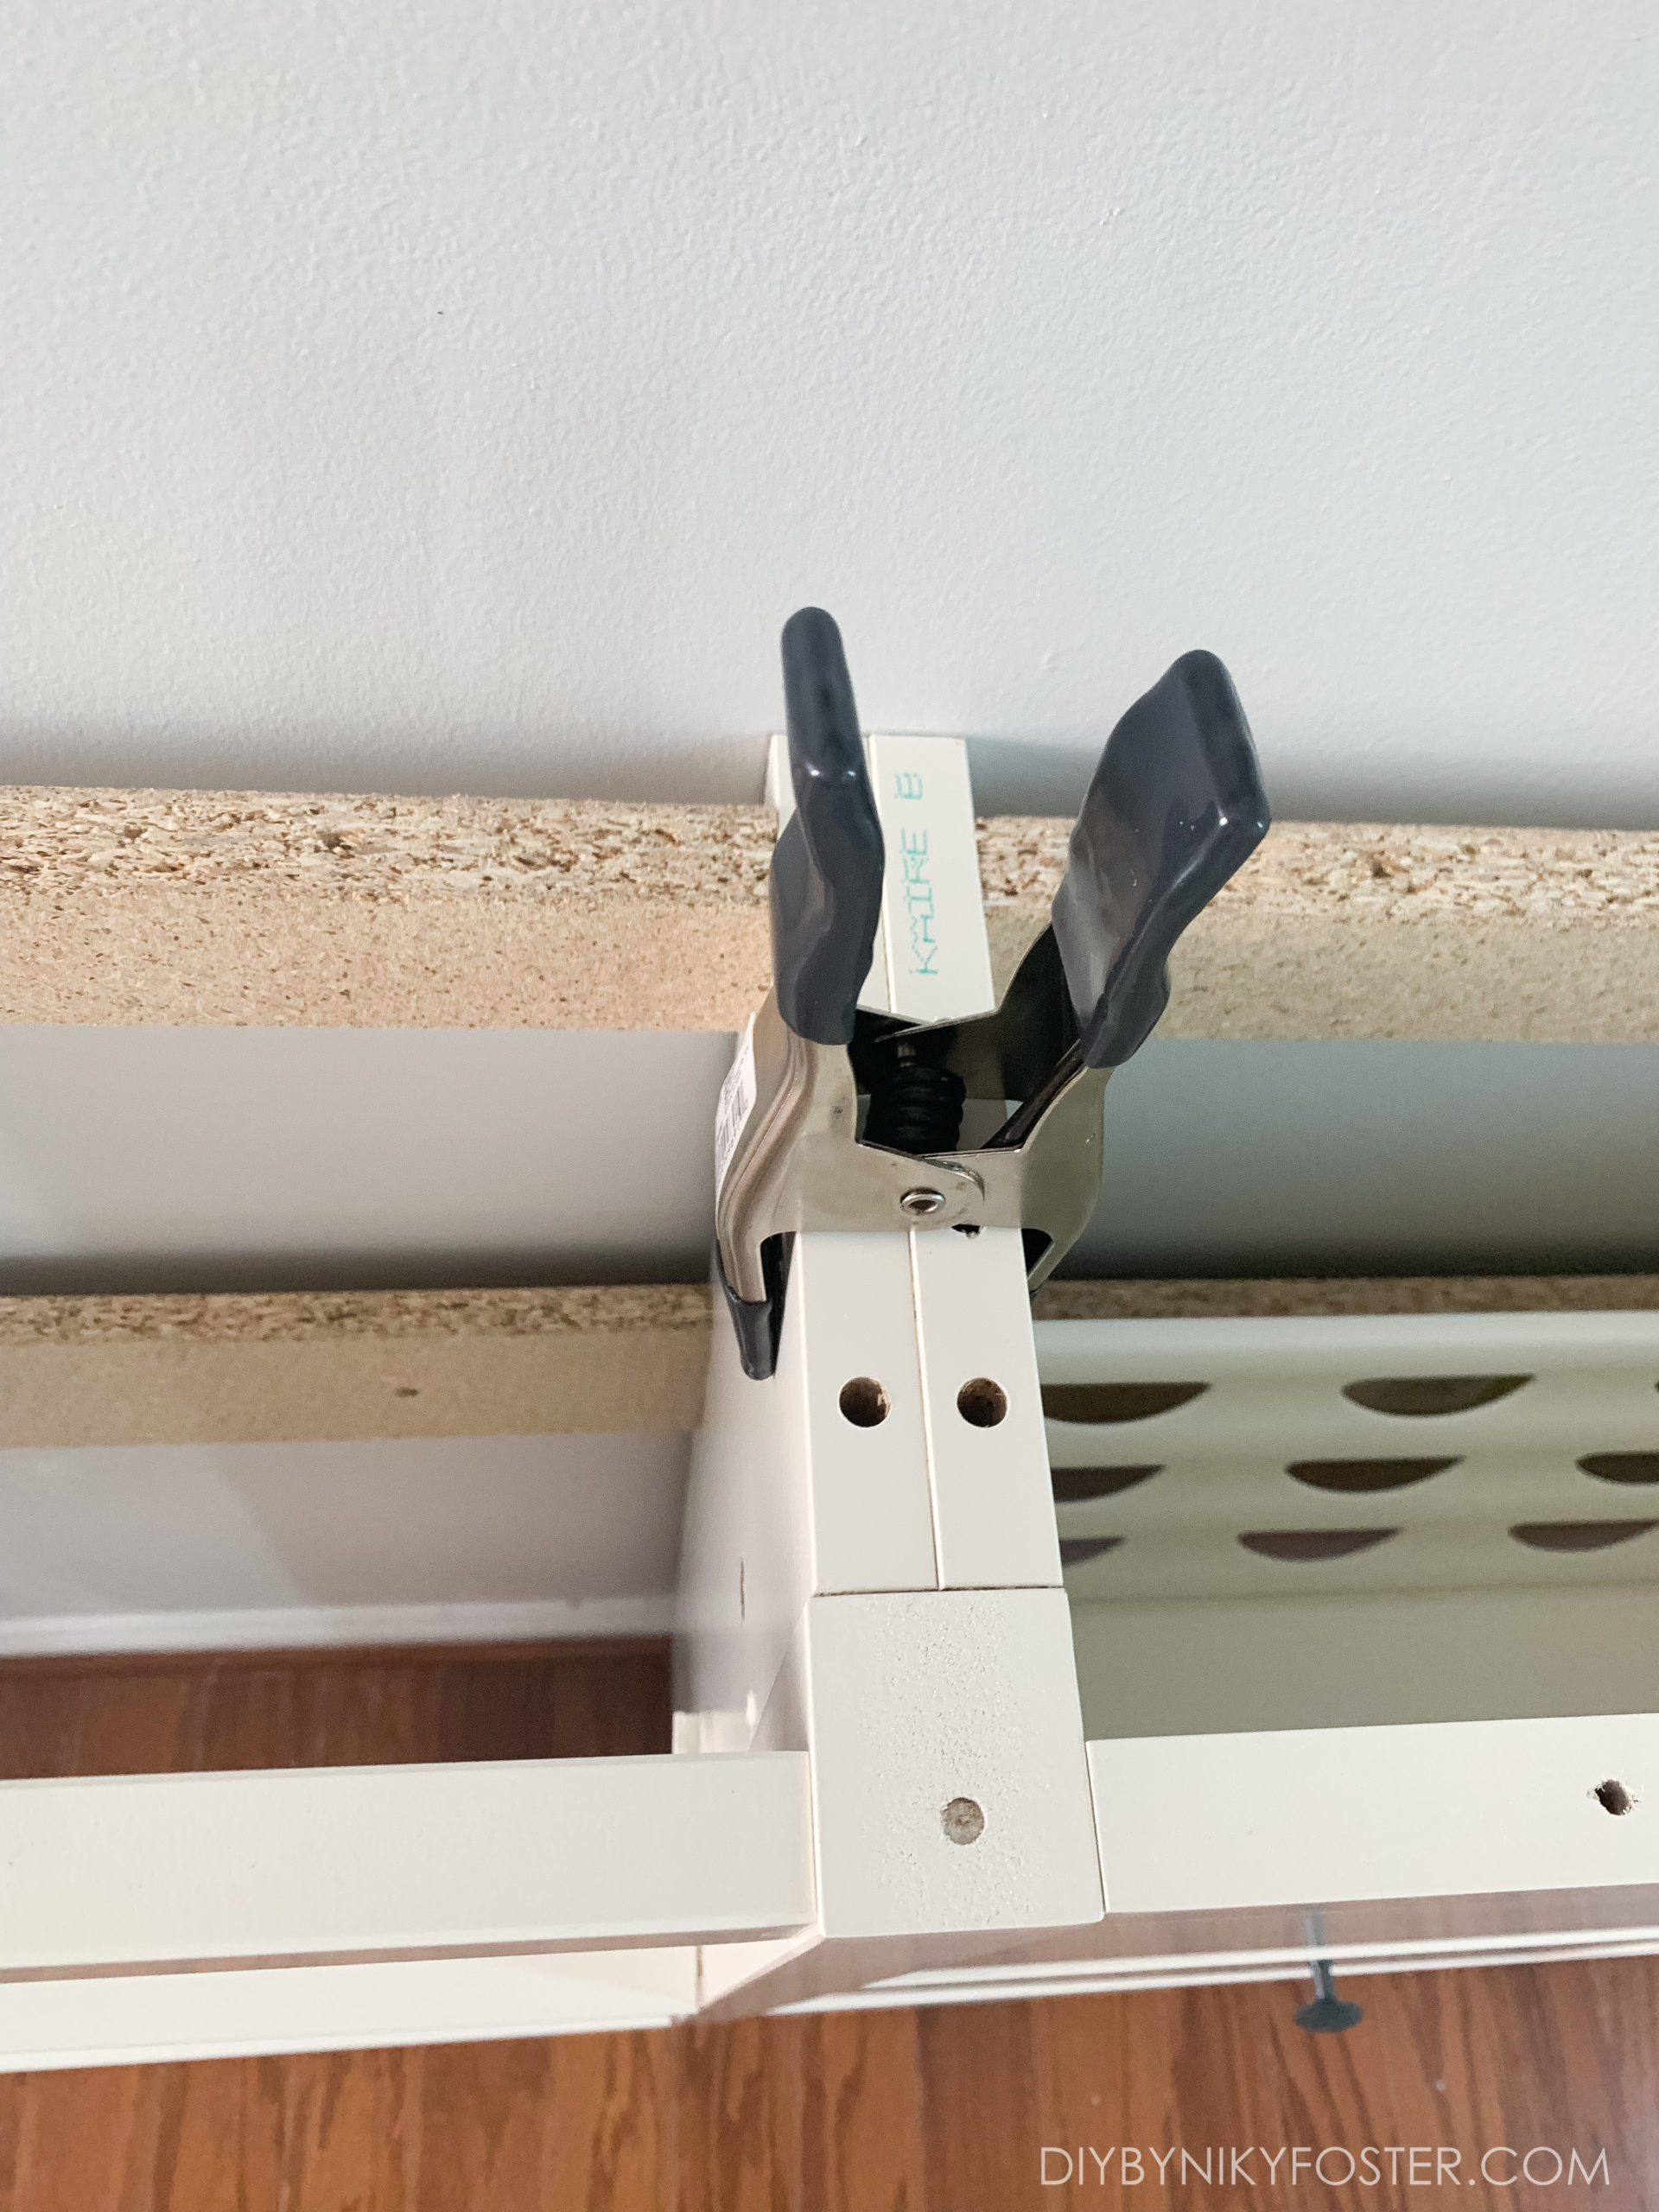
5. See how the cabinet fits right into the back of the leg of the other cabinet? Now, clamp the two pieces together to make sure it dries securely. I placed one at the top and one at the bottom using these clamps.
6. Lastly, I added the top that came with the cabinet on top. Some people update theirs with a wooden top from home depot. I actually like the white top. If you look really closely, you can see the seam down the middle, but honestly, I like it and it doesn’t bother me for now.
This is what the Ikea Hemnes Shoe Cabinet Hack looks like now!
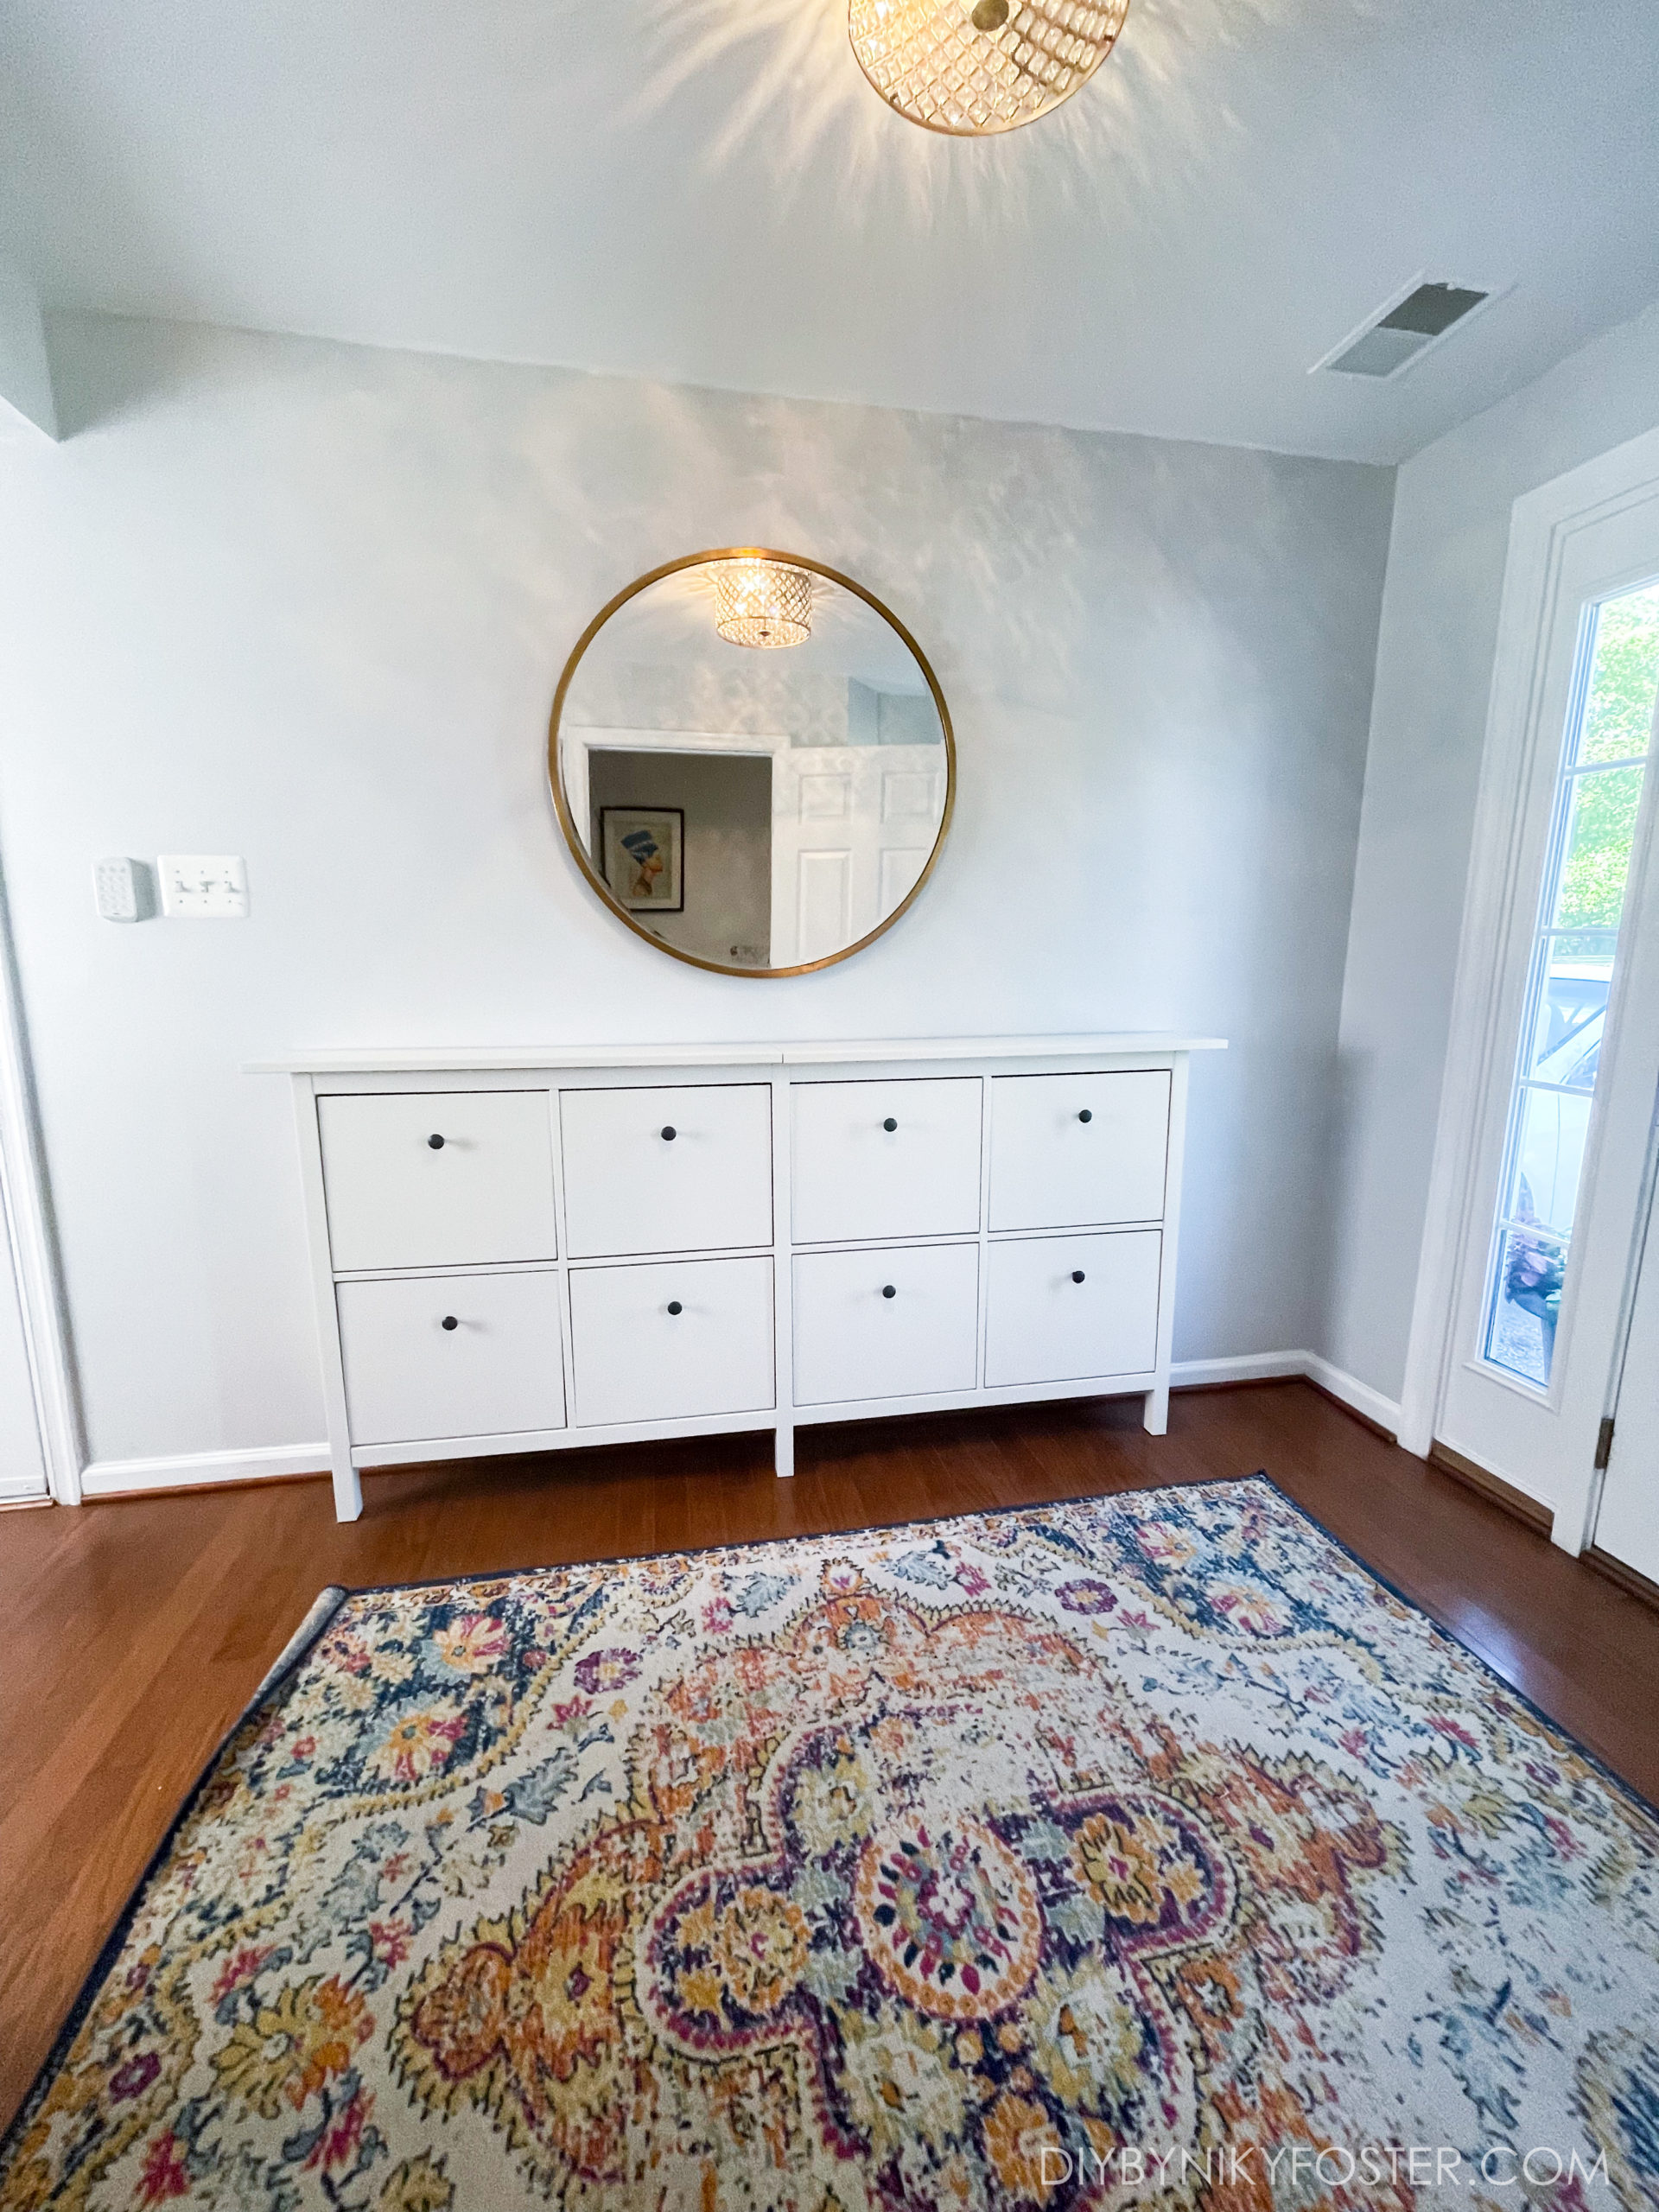
Full entryway makeover coming soon!
Shop This Post:
Similar Ikea Shoe Cabinet: https://amzn.to/3CoWY21
Glue: https://amzn.to/3dSai57
Tape: https://amzn.to/3KbzzmP
Clear Tape: https://amzn.to/3Cpk4G3
Clamps: https://amzn.to/3Afooov
Mirror: https://amzn.to/3wmYnCH
Drill Bit Gauge: https://amzn.to/3KbLQaK
Drill Bit Set: https://amzn.to/3wjnhD2
Thank you for this post! The frog tape idea – genius!
I am looking to do the same with my hemnes shoe cabinets. Thankfully, I stumbled across your blog. I love it! Your suggestions are perfect and they appreciate linking your products to Amazon so I can get the same ones. I will definitely keep an eye on your website!